Planning
- Measure the area where you want your rink. If using our Thermoplastic Boards you will want to keep the length and width of your court divisible by 4 as each board is 4’ long.
- Measure the slope. Many backyards look flat but in fact can have a significant slope when it comes to creating an ice rink. A string line with a string level will allow you to check the slope of your backyard. Call us if you need guidance on how to do this.
- Access to water. When choosing the location of your rink, make sure it’s near an easily accessible water source. This will make it much easier when it's time to flood and resurface your rink. When you're done resurfacing you'll need to bring your hose back inside so it doesn't freeze solid. When the hose is brought inside, it will have some water left in it. If you have a hose reel, most of the water will be dispersed while winding it up. If not, do your best to drain the hose before bringing it inside and have a large bucket or garbage can to set the hose in for the water that may still drain out can be nicely contained within your container leaving no mess.
- Before the frost. If your rink is going on grass, as most rinks are, you need to plan ahead and have the brackets installed BEFORE the frost sets in. Installing the brackets and boards should take place well in advance of the cold weather arriving.
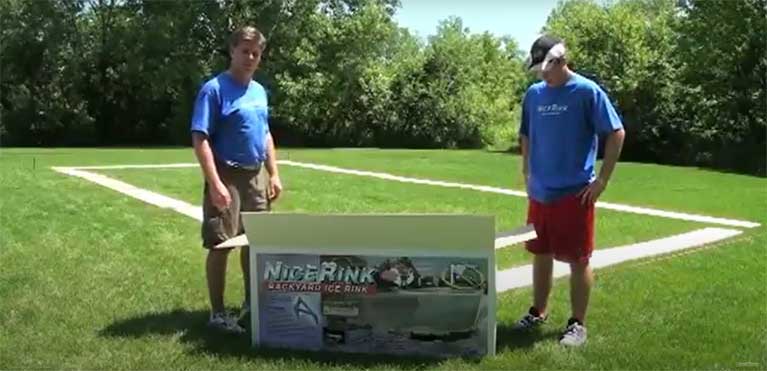
Choosing Your Rink Options
- Select your rink from NiceRink’s wide array of products, packages, and solutions. You’ll find everything from individual products to entire rink packages, each of which can be customized to meet your unique specifications, so you end up with the best backyard ice rink possible.
- Rink Packages. Each home rink package is created to meet your space’s specifications. Choosing the right rink package for your space, budget and needs is an important step in ensuring a successful DIY installation. Call us and one of our backyard rink specialists will be happy to discuss your options and walk you through the process
- The Liner. Most of the success of your rink will come down to the liner. NiceRink liners are ultra-white on both sides, helping to keep your ice as cold as possible and saving your grass. Our high-quality liners are what makes the difference in your ice quality as well, providing the smoothest, longest-lasting ice for your family.
- Order in Advance. We sell out just about every year and unfortunately, those who wait until December to plan and order their rink, may not get what they want as quickly as they want it and may be disappointed.
DIY Installation
- Delivery. Your rink components will be delivered to your house neatly and securely packaged. All that’s left to do is assemble your backyard ice rink.
- Instructions and Tutorials. NiceRink will provide detailed instructions and tutorials that will guide you through the entire process. And of course, you can call and speak with one of our backyard rink specialists if needed.
- Fill your Rink. Let the ground cool down for a good amount of time before lining and filling. Wait until the nighttime temperatures drop to -5 to -8°C and daytime temperatures stay below 2°C before laying out your liner and filling your rink. With those conditions, you should be able to skate in three to five days. Cold nights are key, since you'll build more ice during those lower nighttime temperatures than the higher daytime temperatures can melt it and you will be gaining ice thickness each night. Typically, an ice thickness of 3-4 inches (8-10 cm) will hold most kids and average-size adults.